
Thanks to "Apolon34" for this comprehensive and well-documented tutorial on tuning and synchronizing the fuel injection on a Suzuki SV650.
The aim of this report is to give a quick overview of the injection systems on our beloved SVs, as well as how best to tune them. Information taken from the technical magazine.
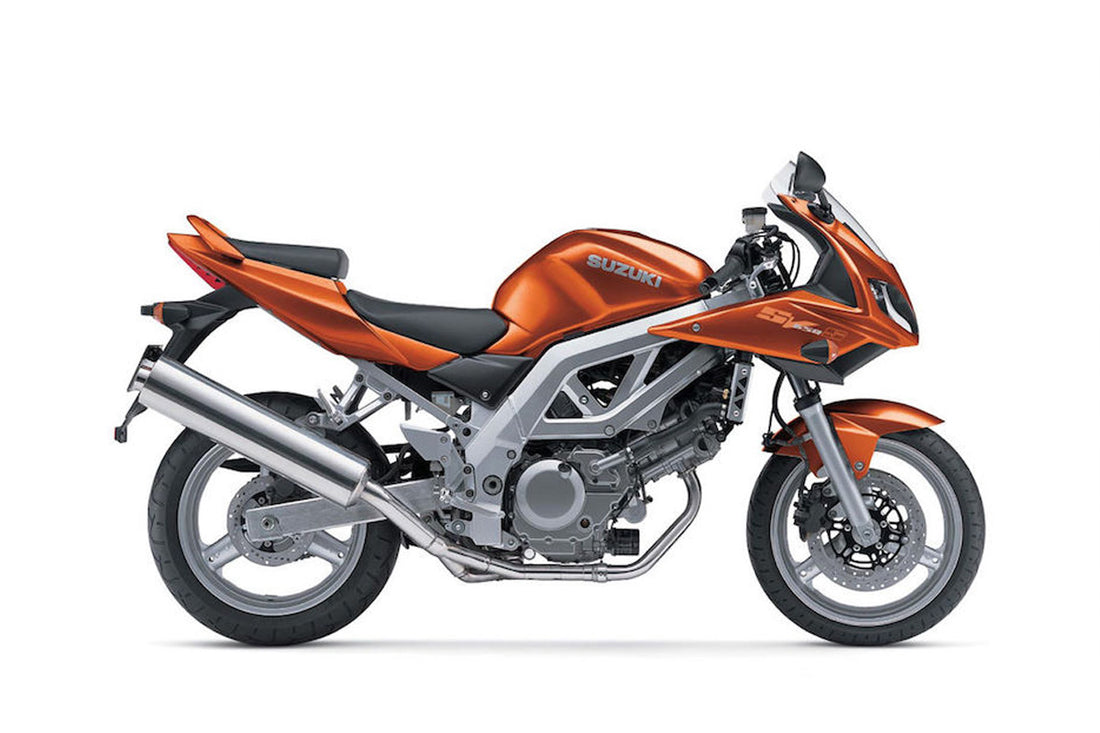
Suzuki SV650 injection system description
The fuel injection system on our SVs is made up of a set of sensors and actuators that work together to achieve a single goal: to continuously inject the right amount of fuel into the cylinders.
To achieve this, the following sensors are available:
-
Flywheel sensor, indicates engine speed
-
Inlet air temperature sensor (in the airbox)
-
Water temperature sensor
-
Intake vacuum sensor (in airbox)
-
Throttle position sensor (TPS)
All this enables the injectors to be controlled: by regulating the injection time, we can precisely control the quantity of fuel injected.
An additional device (the secondary throttle) is then added to moderate the gas pedal opening speed and control the accelerated idle.
We therefore add :
-
Secondary shutter actuator (motor)
-
Secondary flap position sensor
-
Accelerated idle system
Of course, all this can (and should) be adjusted to optimize engine operation.
A top view of the injection system (fuel tank raised, airbox removed):

Airbox sensors/actuators :


Secondary throttle synchronization
This setting is purely mechanical and should not change over time. Nor is it of primary importance, as the throttle is generally open enough for the influence of synchro to be negligible.
First, disconnect the STVA coupler (the motor that operates the secondary throttle) by unplugging its connector, as shown in the photo below:

The shutter is then operated by turning the knob by hand:

Then for the adjustment, the technical review advises to measure the length between the throttle valve and the top of the throttle body. Personally, I don't find this very precise, so I prefer to proceed as follows:
I slip a 0.30 shim between the throttle and the body and then close the throttle with the knob until I get a "greasy" friction (rubs but still passes).
Then remove the shim and take the same measurement on the other body (starting with the front cylinder). If the shim floats or doesn't pass, you need to adjust the synchro, as follows:

STPS sensor setting
Once the synchronization is OK, we move on to setting the STPS sensor. To do this, disconnect the stva connector (see above) and open the throttle fully using the thumbwheel (also see above).
Once this is done, switch on the ignition (no need to start the engine) and measure the voltage between the yellow and black position sensor wires. With the sash wide open, the voltage should be over 4.38v. I set mine at 4.5v.

TP sensor setting
Once the secondary throttle and its position sensor are OK, the position sensor (TPS) is tackled.
To set it up, start by putting the motorcycle in dealer mode. Place the secondary throttle in the fully closed position, to cancel the accelerated idle phenomenon. With the ignition on, adjust the position of the sensor so that the line is in the middle, as shown here:

View of the sensor :

I've managed to adjust it so that it's about in the middle of the adjustment range between the bottom and top marks. After retightening, check that the setting hasn't moved. You can then reconnect the STVA contactor.
Accelerated idle setting
Once everything else is set, all that's left is to finish adjusting the fast idle. We're going to do this in two phases, first the standard idle and then the fast idle.
First, the standard idle. Let the bike warm up slowly on the stand, up to 80 degrees. Then set the idle speed to 1300 rpm using the screw on the left-hand side, near the frame. Once this is done, let the bike cool down completely.
View of the idle system:

In fact, the secondary throttle allows the primary throttle to be ajar (and thus accelerate idle) when it's wide open. The ECU uses it to manage the accelerated idle during the engine warm-up phase.
Let's start the engine. At around 50-55 degrees water temperature, the idle speed should drop to its normal value (1300 rpm) or a little less.
Once this is done, the last adjustment to be made is that of throttle timing.
Throttle synchronization.
Once all this is done, we move on to synchronization. Before doing so, reassemble the entire airbox and let the engine warm up to 80 degrees. Once it's nice and warm, we switch off the ignition and connect the timing device to the vacuum sockets.
The device in question, a twinMax :

Before proceeding with the adjustment, turn on the indicator and set the sensitivity to maximum. Then set the indicator to zero.
View of front cylinder vacuum port:

View of rear cylinder vacuum port :

Then remove the plugs from the vacuum sockets and connect the twinMax. The easiest way to do this, in my opinion, is to slip a small hand through the frame opening on the side (as shown in the photo).
Then switch on the engine, let it idle for a minute or so, and proceed with the adjustment. We use this screw:

The aim is to keep the twinMax indicator as centered as possible. During adjustment, the idle may increase, so we'll re-set it to 1300 rpm and confirm that the synchro is still ok.
Once that's done, remove the twinMax, replace the plugs and you're ready to go for a ride!